Tuesday, July 10, 2012

Before and After bookshelf.

Since I've been away for a while, I thought I'd catch up on
 some of the projects that we've completed in the past few months.
This project is one of my favorites.
Mostly because it's so much different from the before.
It all started when Levi took me to a medical salvage yard.
We saw some okay things like some old light fixtures but nothing worth buying in my opinion.
Then Levi showed me this shelf that he had seen before and had been wanting ever since.
I have to admit I did the "oh yeah, cool, okay, we can get it" out 
loud while in my head I was like "wtf, why?"
I was filling up with anxiety wondering where he was going to want to put this in the house.
You may understand when you see the before pictures, or you may be a genius 
like my husband and see the potential in things right away.
You can decide for yourself when you see the pictures below.


Here's the before pictures.


There it is, there you see the white/yellow/ brown, metal shelf with the bloated faux wood topper.
Well, are you thinking what I was?
Before you can decide that we're crazy, let me show you what it looks like now.


There it is, in all it's greatness. 
It's been cleaned up, and painted white.
It also has a new real wood topper. 
We always have an arsenal of white spray paint and the
 wood was about $30 and the shelf was $20. 
So we ended up spending around $50 and had some extra wood leftover.
I think it's a pretty cool transformation and it goes great with my faux taxidermy collection.
My love for white ceramic animals really has no boundaries.
Hope to see you back here tomorrow.
It's gonna be a hot post!
(I say that having no idea what I'm going to post tomorrow.)
Good day!


Monday, July 9, 2012

Engineer prints, meet Lalaloopsy

Hello again! Hope you had a great weekend.
I know I did, when Trueblood's on you just know it's gonna be a good weekend.
When there's sexy vampires and werewolves you know a good time is going to be had by all. 
Let's talk more about my weekend.
We did our usual thrifting, watched a few movies: 
New Years Eve- why? Because we have a special place in our hearts for romantic comedies. 
Just maybe not this one. It stunk.
Hesher- I suggest it, if for no other reason than to see Joseph Gordon-Levitt in tighty whities.
Last but not least, we saw The Help, and we were pleasantly surprised. 
Yeah, that's all I've got.
Did you see any movies this weekend?
Mimi's been wanting to see the Katy Perry movie, but we're waiting on that one.
She's growing up too fast for my liking.
Which brings me to the topic of this post, finally!
If you've been on pinterest lately you've probably seen some pretty cool things 
that people have done with engineer prints.
If not, this is what I saw.

So I followed the link on the pin which eventually took me to Sugar Bee Crafts
Where Mandy, the blog creator shared her instructions on how to do it.
It seemed easy enough so I thought I'd give it a try.

The first thing you have to do is get a high resolution picture.
If the picture is too small, it'll come out all pixely.(is that a word?)
You get the picture. (har, har) 
If you have a DSLR camera, you should be fine.
I decided my engineer print was going to go in Mia's room.
So I went into her room and took a few pictures of things I thought 
she'd like and eventually picked this picture:

Next, all you have to do is change your picture to black and white, save it onto a flash drive, stick drive, memory stick, usb drive, or whatever you call them in your household and take it to Office Depot, Staples or any office supply store that does Engineer Prints.

We went to Office Depot and our print was done in about 20 minutes. 
We were in awe about how huge it was 48" x 36" (also 3ft by 4ft)
and it turned out being around $5 and some change.
Next stop was down the street to Home Depot for some foam board. 
It comes in 4ft by 8 ft sheets and costs about $14, we thought we grabbed the $7 one so at the register we were in for a surprise, however the nice cashier gave it to us for $7 since it was in the wrong spot.
Lucky us!
Also, if you don't have a truck (like us) you'll have to cut the foam board in half at the store to fit in your car!
Here's how ours fit. 

(Luckily Mimi was with her aunt and uncle or else this would have never fit with her carseat!) 

Finally we were home so I spread the print out across the board using Levi's shoes so I could take a quick picture. (You're welcome)

Luckily, the foam was already pink so we didn't have to paint the edges.
So we did the good ole' spray adhesive, roll the print down combination and 
made sure there was no air bubbles by using a card to smooth it all out. 
I didn't get to take a picture of that part because there were no empty hands.
But here's the picture that comes after that!

So we cut the extra boarder of foam board off then it was time to hang it.
We used some cute gold nails to hang it above Mimi's bed.
 Here are the before and after pics.

There it is, Mia thought it was cool.
I got the "Thank you for my new picture, can I go play now?"
Either way, it was a cool project for under $20 and keep in mind the foam board 
you see up there is only half of it.
We still had half of it left and were planning on using it for another print in our living room
until we found Mia sitting on it stabbing holes in it with a pen.
So there goes that idea. 


If you'd like to follow me on pinterest you can find me here:

Friday, July 6, 2012

Mia's new room!

Hello everyone, I'm finally here to give you a little glimpse of what we've been up to.
It's been a while since I've posted a room-makeover but
 that doesn't mean we've stopped doing what we love to do.
So I'm hoping to start updating frequently and actually have crafts to do.
So far I'd say things are going swimmingly.

Moving on to the actual topic of this post; 
Mia's new room.
We figured it was time to update her baby room into a big kid room.
But before I can start telling you about her big kid room,
 I have to remind you of her old room!
You can see the full post here.
If you don't feel like clicking the link and opening a new window, 
I'll post some pictures for you lazy people. I mean, how hard is it to open a new window? 

Here's the old pink room.
Then the tent bed my husband made.

Well, everything's completely different now. 
Here's what the room looks like now.


Now that you've seen all of the pictures, 
I'll break down what we bought and how much it cost.
Mia's KidKraft bed was a Christmas gift from her Grandma and Grandpa.
I believe they got it from ToysRus.com
Mia's two white shelves are from Ikea.
The tall upright shelf is called the LERBERG and was $19.99
The horizontal shelf is called EXPEDIT and we bought it on sale for $69.99, 
however it's $89.99 now. (Boo!)
The rug is the ever popular GISLEV rug in red and is $19.99
The table and two chairs are also $19.99 and are called LÄTT.
Her red, heart nightlight is called SMILA HJÄRTA and was $9.99
                                       Her duvet comforter is called VITAMINER HJÄRTA and is $19.99
It came with that cute heart pillowcase but Mia likes herself some Avengers.
All of the items with the weird names are from Ikea, of course.
The pink mid-century dresser was from our guest room.
We're renovating that room again but more on that later.
The mid-century chair alphabet poster is from Fab, I'm not sure how much it cost.
They shipped it like four months after we bought it and we forgot we even ordered it!
I tried to get a close-up of the curtains, but if you can't really see it they're gray floral with blue birds on them.
I got the fabric at Hancock Fabrics while they were having a "50% off designer fabric" day.
They were originally $14.00 a yard but I got them for $7.00 a yard and got four yards!
If you see anything else in the room that I haven't mentioned 
and you'd like to know where it came from let me know! 
This room didn't come together in a day, or even a week!
We don't get lucky one day and hit all of the discounts.
I spent a lot of time online looking for sales and dropping by the fabric stores to see what was on sale.
It takes time, but eventually you get the outcome you want and you may even get what you wanted for an even lower price than expected. 
Those are the best times in our opinion.


P.S. I opened an Etsy shop and some of the items can be seen in this very blog.
Here's the link if you'd like to check it out!  Thanks everyone!

Thursday, April 26, 2012

Hey you, it's been a while.

     Well, let me just come out and say it; I've been a horrible blogger. It's been almost four months since I've updated and not only that, I left you in the middle of a renovation! For that, I apologize. However, I'm back and not only will I show you the finished product from our living room makeover (One day), I'll show you another room made over (Soon-ish).

It's obvious that I took a much needed vacation, so I'm going to let you in on what's been going on around here. First, I took a little break after Christmas and Mia's birthday party just to let the dust settle and relax. Then, in February we adopted another baby. Well, another puppy/baby to us.
     Her name is Phoebe and I know what you're thinking "Now they have three dogs?" The answer is yes.
Yes, we now have three dogs and as cute and cuddly as it was in the beginning. Well, it's a little different now. Trust me, I'm not gonna tell you that having three dogs is awesome and the best thing in the world because shit happens. I mean, shit literally happens. Yeah, suddenly that cute picture up above of that innocent little puppy isn't looking so innocent anymore. Suddenly, those eyes are turning evil and she's staring into your soul! Okay, so it's not that bad. But I will say that if you don't have the patience and the free time, I wouldn't commit to having two Boston terrier puppies and a Sophia (whatever she is). Fortunately, I have a little bit of both.

I could go on and on about what's been going on around here, but then I'll have no posts for later. We can't have that. Truthfully, I have to go clean all of the toys, shoes and pilled up mail out of my living room to take pictures of the finished project. (Sorry, again!) I suppose that concludes this post. I'm not gonna lie and say I'll be back tomorrow because I wouldn't want to let you down once more, but I will confidently say that it will not be another four months until I have another blog post! Do with that what you will. (Hopefully) Until tomorrow, see ya!


Wednesday, January 4, 2012

Day 2 of renovation.

Normally, painting a room takes us a few hours. 
Unfortunately, painting this room took a whole lot longer!
Because the room was two toned, there was a big contrast in the colors.
Meaning, we had to ultra-prime the navy blue part and also prime the white part of the walls.
Here's what the room looked like after one coat.
After the first coat I got cold feet. 
I was exhausted and I got the dreaded feeling like maybe renovating this room was a mistake. 
We spent hours priming those walls.
It took about 6 hours and two coats of primer to finally have it looking like this.

Blank white walls and we couldn't have been happier.
Then all that was left was to actually start painting.
Which brings us to where we are today.
This is currently what our living room looks like.
One single coat of paint covered the walls perfectly.
I don't think it would have covered as nicely if we wouldn't have primed the whole room and bought
the cans of paint+primer. 
It's still a complete mess as you can see.
We're still waiting for the boards under the window to go up, along with new curtains and so on.
The color looks more green in the photo, but it's more of a blue/gray color. 
I'm really hoping I can show you the complete product tomorrow.
We've still got quite a bit of work to do so I'm not making any promises!
I'll meet you back here tomorrow! 


Monday, January 2, 2012

New Year, more renovations!

Happy New Year everyone! 
I took my week off and I'm finally back for some more blog posts!
I haven't exactly planned out my posts but we've got a lot going down!
As of right now I'm party planning and in the midst of a room renovation.
I'm hoping it'll be a quick two day renovation like our guest room.
But I can't foresee the problems we might run into.
Here's hoping we"ll have this room done in a week! 

If you've ever been to our house, you know that when you walk in, you're greeted with our 
navy blue/wainscoting dining/living area.
That room is the very first room painted when we moved in.
Levi and I actually painted it before we moved in, three years ago.
So, essentially it's time for a change.
For those of you who haven't seen this lovely room, I have a few pictures.
I didn't get to take pictures before we started renovating, because we didn't have our camera at the time, but I dug up a few pictures that we had stored on our computer.
Hopefully you'll get the idea.
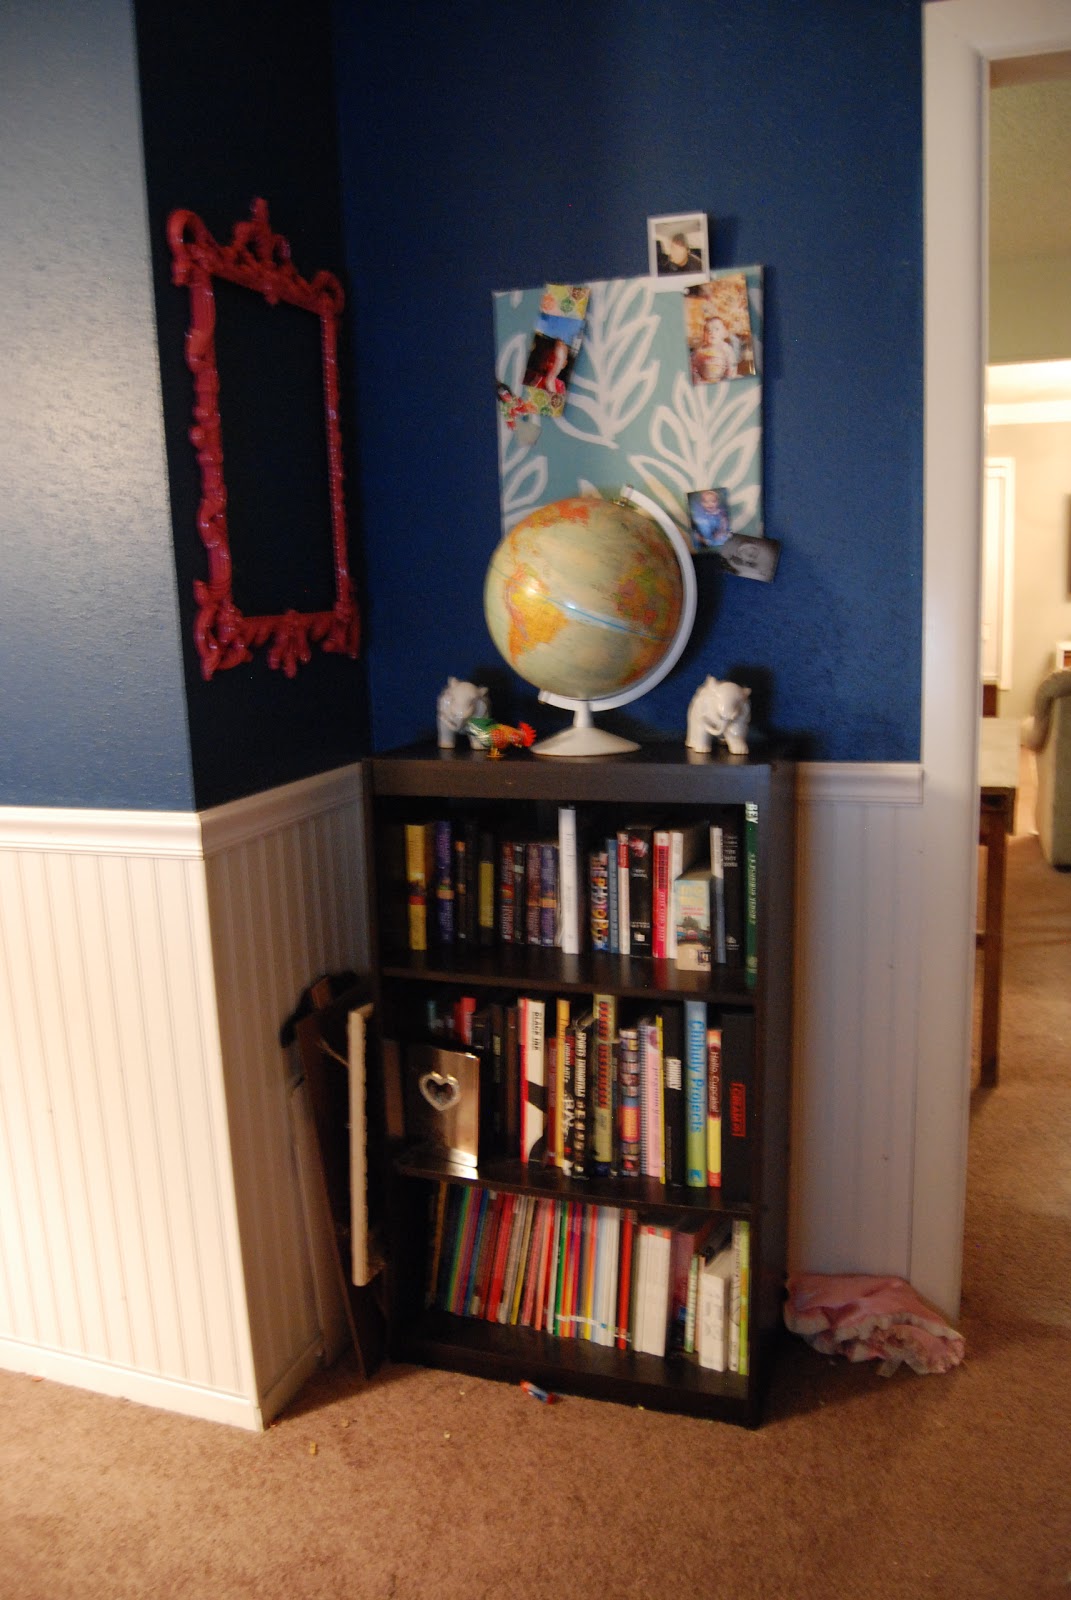
Above is our small bookshelf that fit perfectly in our tiny 
apartment, but not so well in it's current spot.

Our chalkboard pocket door.
This is just to show you the color of the walls mixed with the wainscoting. 

 Here is our white couch with our gray curtains behind it and our gray ikea rug.

Here's where our Christmas tree was. 
It's an awkward corner with a half wall.

Here of course are our shelves, there's a whole blog post dedicated to them here.
We've already started the renovation, but unfortunately we didn't have our good camera.
So I took a few pictures with the ipad.
Here are the grainy "in process" pictures.

The wainscoting and chair rail has been removed.
The curtains and shelves have been taken down. 
All of the books and accessories from the shelves are on our dining table and our chalk board picture frame has been taken down too.
Here our couch has been filled with junk and our room looks pretty empty!
That's pretty much all we've done so far.
We're gonna start painting tonight and hopefully by the end of the week, our new living room will be completely transformed. 
I'll meet you back here tomorrow with some more updates! 


Friday, December 23, 2011

The Final Christmas Post #25

I can't believe the time has come.
The final Christmas post.
The last two months have been spent planning all of my Christmas themed posts and now they're done.
I hope you've enjoyed all of the crafts and sentiments.
 I've had a blast keeping occupied.
This final Christmas post was meant to be posted Christmas morning, but I decided to give myself some breathing room and speed things up a bit.
This will be the last post of the year, I will be taking next week off!
I'll catch you up on our Christmas, New Years and Mia's birthday.
Until then, I will see you back here next year! 
Thank you for keeping up with our crafts, our lives and all of the silliness in between!
We hope everyone has a Merry Christmas and a Happy New Year! 


Love, 
Levi, Carissa & Mia