
It's been a pretty gloomy day today.
It's been raining all day and plans to stay that way throughout the weekend.
You know what that means, time to stay inside, wrap gifts, watch Christmas movies
and if you're me: work on crafts!
Today's craft is going to be a scalloped ornament.
It's pretty much like the tree's from yesterday, only we're going to be using
a Styrofoam ball instead of a cone!
First, I cut out my circles to layer the ball.
I just used some leftover white paper.
It was my second attempt at leopard print gift wrap gone wrong.

Once I cut them out, I colored a few of them just so the ornament would have some contrast.
Then starting from the bottom, I started layering.
There's no real guide to start with when layering the pieces of paper, but I glued a dot on the top and bottom of the ball to signify where I'd start and end. Just to make sure that the layers stayed even.
(Not that they stayed even.)

I just eyeballed it when adding the different colors.


Then it was done!

Levi also made one using the paper leftover from our trees.
His came out completely awesome and proportionate while mine... well, not so much.
For some reason he's good at just about everything he tries.
Video games, cards, home remodeling, lego building and now Scalloped Christmas ornaments.
Anyone else notice that?

I wasn't really sure how I'd hang these on the Christmas tree, but Levi had the idea of using the hooks from
some old ornaments that we had. Yes, he's also resourceful. <3

See that little loop thingy on the top?

Pull the top off, then squeeze the loop to get it out.

Then it's out and you have this weird looking hook type thing for your ornament.


First, I had to find the tops of our ornaments.
(Which was hard because mine was completely uneven!)
Then I poked some holes with a needle.

As you can see, I poked a lot of holes to make sure mine would hang evenly.
Then I glued the holes with some hot glue and before it dried I inserted the hooks.
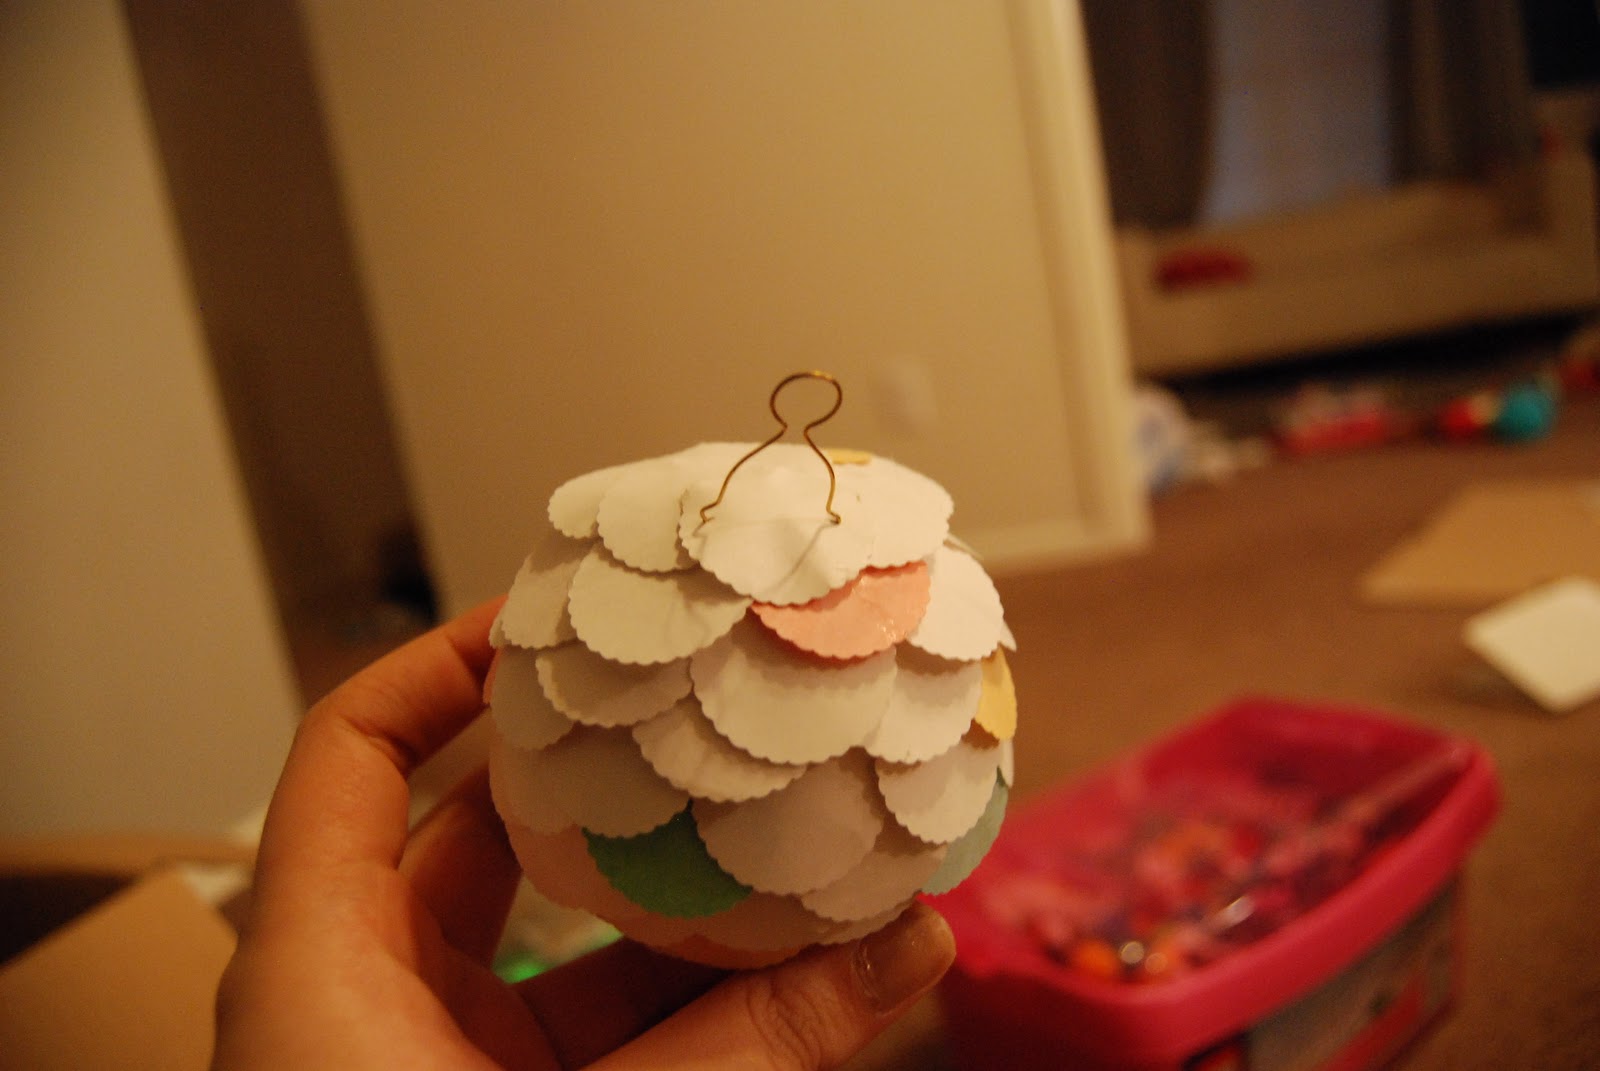
Then pushed them in a bit to make sure it wouldn't fall off easily.

Then added some string and hung those babies on the tree!

Pretty simple handmade ornaments and pretty cheap!
We're really excited about Christmas this year.
Mia's learning about Santa Clause and she's also learned a few Christmas songs.
We haven't watched one of our favorite Christmas movies, yet but I can't wait to introduce Mia to it
and have her love it as well!
Here's a little taste.
I'm sure you love it too!
Stick around, tomorrow's post is gonna be magical.
I promise, it won't be another scalloped decoration!
Meet you back here tomorrow!
Or Monday, depends on the rain.


