Showing posts with label craft. Show all posts

Friday, December 16, 2011

#15  Advent calender and Felt bow

#15 Mia's advent calender

Keeping with the Christmas traditions, we wanted to make Mia an advent calender.
Instead of buying a cardboard/chocolate one (I couldn't find one anywhere) we decided to make one.
We got our inspiration from a tutorial from Design Sponge.
They have a print out of these little Christmas crackers on their site here.


So we printed out the template onto some white and blue card stock, 

cut out the crackers and tied them up.
We weren't sure how we were going to hang them up but then we remembered seeing some photo's of people hanging up their stockings on a tree branch so we decided that was going to be how we hung up our treats!
Here's what it looks like:
I also decorated it with a strand of sewn garland.

Here's Mia opening her daily gift!
Now Mia looks forward to opening her treat at the end of each day!


#16 Felt bow

Most of my Christmas crafts have been done using felt.
This is one more to add to the list.
This is going to be a felt Christmas bow.

All you'll need is a sheet of felt, a glue gun or a needle and thread.
I used a needle and thread but it may be easier to glue it.
First, I cut out three long strips, three more slightly shorter, 
two an inch shorter than that and one even shorter piece.
There's no definite measurement as long as you have nine strips.

First, you take one of the longer pieces and fold it so that the ends match, then sew it.

Then you do the same to the next piece, only add it on top of the first one.

Keep doing the same thing for the next pieces.

The last strip was tricky, but I just sewed one side first, then the other side.

That's it! 
You could also use fabric or paper for this project.
I'm officially caught up!
This is the 16th project on December 16th!
Have a great weekend! 
I'll meet you back here on Monday with some more crafts!


Thursday, December 15, 2011

#13 and #14 Easy pop up Christmas card + Kix garland.

#13 Easy pop up Christmas card

This would be my second time making a pop up card.
The first card I made was for my sister's birthday.
I only wish I would have taken pictures of it!
Oh well, now I have a whole tutorial on how to make one.
I included this card with the gift that I made for the gift exchange.
The first thing to do is get a piece of white paper and a piece of construction paper.
You can use any color of construction paper.
(I chose blue paper, then changed my mind and used red.)
Next, I cut some slits into the white paper where the fold is.

Then you open the card and extend those tabs and glue the white paper to the construction paper.

This is where the decorating comes in.
I cut out some Christmas tree's out of card stock and had Levi make me a banner.

Then, I glued them to those tabs and they looked like this:

I also added some confetti around the edges.
The finished card looked like this.

I just added a personalized message to the bottom and it was done!
For my sister's birthday card, I added some balloons and a banner.
You can personalize it however you want!

#14 Kix Garland

I remember seeing Christmas movies where kids would make pretty
Christmas garland with their parents out of popcorn or kix.
So I thought this year Mia might enjoy doing it with me.
At first, I told her to try the kix cereal and tell me if she liked it.
But once she put it in her mouth she spit it out and said she didn't like it.
However, once I told her that her cousins like that cereal she stuffed her 
mouth and couldn't get enough of it!
So, for materials, I used:
A needle
Kix 
String


All I did was string the kix until they reached the knot at the end.

Once done it will look like this!

There you have it!
Two quick, cheap and easy projects!
Tomorrow, I'll have two more projects and will hopefully be caught up!
There's not much time left for Christmas!
Hope you're as excited as we are! 
See ya tomorrow!

#11 and #12 Handmade gift exchange!

Last month, Levi and I took part in a Handmade gift exchange.
It was hosted by a fellow blogger named Linda at her blog Craftaholics Anonymous 
We basically had to make and ship a gift to our assigned partner by November 30th.
Levi finished his in about two days and it was awesome.
Mine, took much longer.
I decided to make a wreath for my partner and a matching ornament.
Here's how I started the wreath. 
#11 Handmade Wreath and Ornament!

First I wrapped the wreath with yarn.

I did that for about two or three episodes of Ghost Whisperer a day for two days.
I would alternate between wrapping my wreath and making flowers.

Once both of those were done, I glued the flowers into a big cluster and placed them onto the wreath.

Once the wreath was done, I decided to work on the matching ornament.
I cut circles out of felt and did the same scalloping method that I used here
Also added a hook to the top!

Here they are together.


Now onto #12 My Gift

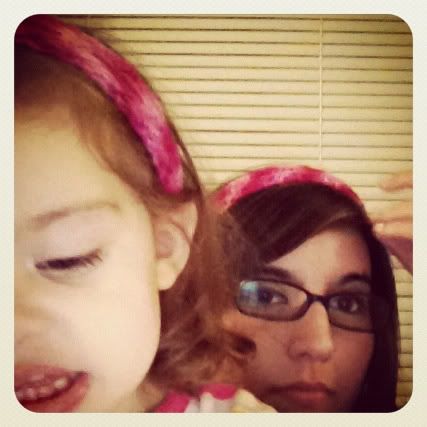
After exchanging emails with my partner, she learned that Mia and I loved pink!
So she knitted us some matching pink headbands!

Along with the headbands she included the cutest little ornament!
She knitted a tiny sweater!

Of course, it didn't make it to the Christmas tree because Mia called it as soon as we got it!
She tried to fit it onto all of her dolls.
But I'm excited to add it to our collection of handmade ornaments!
If you're interested in participating in the next handmade gift exchange, I believe it's going to be sometime during the summer time.
Be sure to check out Craftaholics Anonymous for more info!